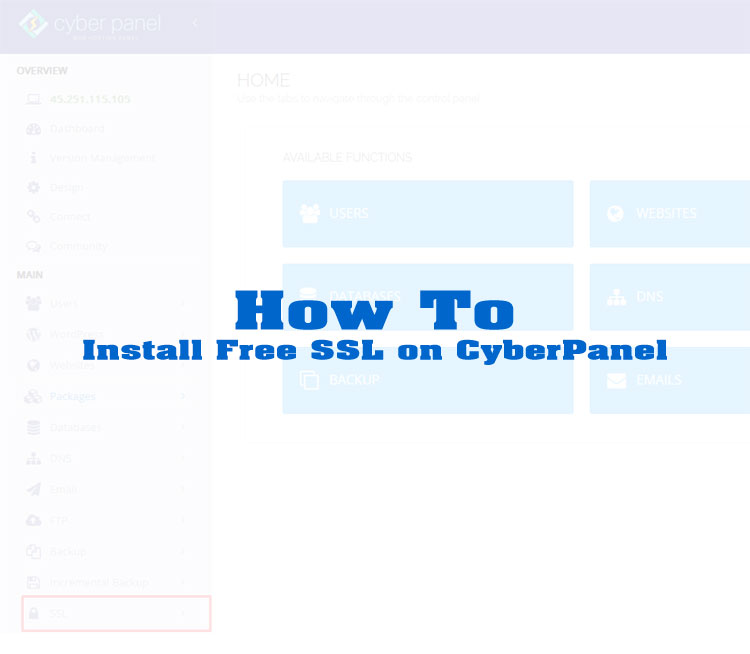
How to Install Free SSL on CyberPanel
This article will guide you through the process of installing a free SSL on CyberPanel to secure your website. We’ll be using a SSL certificate (https) from Let’s Encrypt, which is valid for 90 days and needs to be renewed after expiration.
Installing SSL on CyberPanel – As guided by VietSEO
Installing SSL on CyberPanel is a crucial step to enhance your website’s security and build trust with visitors. With CyberPanel’s user-friendly interface, setting up SSL certificates becomes a quick and efficient process. This guide, provided by Viet SEO, walks you through each step to ensure your website is encrypted and protected against potential threats.
Step 1: Access CyberPanel
- Open your browser and go to CyberPanel using the following URL:
(Replace "hostname" with your server’s hostname or IP address.)https://hostname:8090 - If you see an SSL warning, click Proceed Anyway or Continue with Caution to continue.
Step 2: Log in to CyberPanel
- Enter your username and password to log into the CyberPanel admin panel.
- Choose your preferred language and proceed.
Step 3: Select or Create a Website
- In the left sidebar, go to Websites → If your website is listed, select it.
- If you haven't created a website yet:
- Click Create Website
- Enter the required details
- Click Create Website
- Once done, go back to Websites → List Websites to see your website.
Step 4: Issue an SSL Certificate
- Select the website where you want to install SSL.
- Navigate to Manage SSL → Choose the domain → Click Issue SSL to request a free SSL certificate from Let's Encrypt.
- Once completed, SSL will be activated for your selected domain.
Installing a Custom SSL Certificate (If You Have Your Own Certificate)
Installing a custom SSL certificate on CyberPanel is ideal if you already have an SSL certificate from a third-party provider. With just a few configuration steps, you can secure your website using your own certificate files. Viet SEO company provides a clear, step-by-step guide to help you complete the setup smoothly and ensure your site remains protected and professional.
If you have an SSL certificate from another provider, follow these steps:
Step 5: Manually Add SSL Certificate
- Select the website where you want to install SSL.
- Scroll down to Add SSL → Click Add SSL.
- Enter the details in the two text boxes:
- First box: Paste the contents of the certificate file (.crt) and chain file (.ca-bundle).
- Second box: Paste the private key generated during the CSR creation process.
Example:
-----BEGIN CERTIFICATE-----
Your SSL Certificate Content
-----END CERTIFICATE-----

-----BEGIN CERTIFICATE-----
Your CA Bundle Content
-----END CERTIFICATE-----
⚠️ Note: Use the full certificate chain instead of only the main certificate to prevent compatibility issues with some browsers and SSL verification tools.
Step 6: Restart OpenLiteSpeed
- In the left sidebar, go to Server Status → Click Restart LiteSpeed to apply the changes.
Step 7: Verify SSL Installation
- Use an online SSL checker to confirm the SSL installation.
- Enter your domain and check the SSL status.
Conclusion
Through this guide, you have learned how to install a free SSL certificate on CyberPanel and manually add a custom SSL if needed. Installing SSL enhances website security, encrypts data transmission, and boosts user trust. VietSEO company hopes this guide helps you set up SSL easily. If you encounter any issues, double-check the steps or contact your hosting provider for support!


Questions & Comments
You can ask a question about this article. Viet SEO will review and reply after moderation.